Create on Morphi – On Morphi main menu, click “+” to start a new project – Select Shape, Type or Freehand on right menu – Select from choice offerings and drag the item to the center of screen – Manipulate as desired. – Click “Save” and name in top left corner
Send to 3D printer station – On the students IPad, return to Morphi main menu – Select item you want printed by pressing the curved arrow on left bottom of icon – Select “Send STL” – Select “Send STL Thingiverse” – In upload window, Name your file with description and select “Upload”
Prepare file for identification & printing – On 3D computer station, open Chrome – Go to Thingiverse dashboard (a recent icon on the screen) by clicking in right side of menu, select “You” and then “My Things” from the drop down menu. Select desired item from the pictures that are now uploaded into Thingiverse. – When you select one item, it enlarges on the screen. Select “Download your files” – Open the new zip folder at the bottom of the window – Rename the “Morphi.stl” file (with right click) to a unique name e.g “Beach1.stl” – Drag the file to the desktop
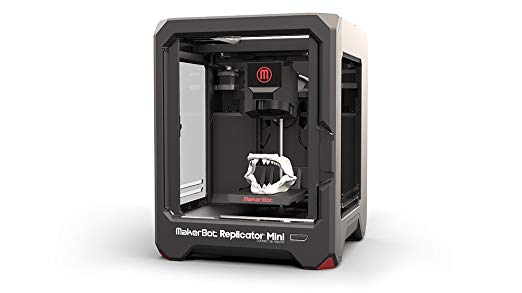
Import item(s) to 3D printer software and print – Select the black colored “Makertop Print” Icon (double click). The printer platform appears. – Select and drag desired item from the desktop to the printer plate. – Use icons on the right to manipulate the item to desired size and location on the plate – Note: Multiple items may be placed onto the plate at the same time for printing – Select which of the 2 printers you would like to use based on desired color of final product. – Click red “print” in lower right corner – The interface window will contain information on completion duration estimates.
Safety Notes: The printer head will reach temperatures of 220 degrees. Use caution and ensure students keep hands away from the device when printing. After the item is completed printing, the printer head remains hot. The interface window on the computer will display the temperature of the printer head as it cools.
Completion & Clean-up The plate on the printer is magnetic and can be removed by sliding the plate towards the front of the printer. Remove the printed items carefully after giving them time to cool. You may need to scrape them off. Also remove the ‘test bead”, a line along the side of the plate Return the plate to original position. On the desktop printing window, click “done” and “escape” to close the print window If you printed multiple items on a single plate, you may want to save this file for future printing. Select Save in the upper corner and name your file. It will save your file to the desktop. You can move the file into a personal folder for future use.